
Pink Champagne Cake from Baked with Love: Holiday
If you followed along with Mom and me on Hallmark Channel’s Baked with Love: Holiday, you know that in episode 7 we created a pink champagne cake we lovingly named Becky’s Winter Wonderland. This cake was made in honor of my Aunt Becky, who adored Christmas and had a special love for snow globes.
Bursting with delicate pink champagne flavor and festive charm, this cake quickly became a favorite. I’ve scaled it down from the original two-tier showstopper to a classic, approachable three-layer cake that’s perfect for celebrating special moments at home.
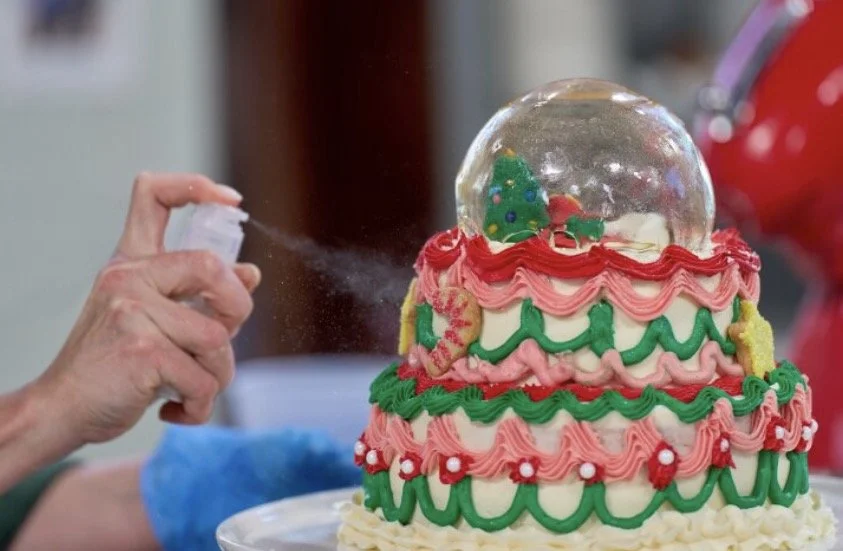
Photo Credit: ©️The Hallmark Channel 2025
Mom and I were overjoyed to make it through episode 7 and onto episode 8. Getting to share the story of my Aunt Becky and celebrate what she meant to our family was incredibly special and something we’ll treasure forever. Meeting Dame Mary Berry in the final episode was truly a “pinch me” moment!
While our Baked with Love: Holiday journey wraps up in episode 8, the joy of baking and sharing our family traditions is just getting started. I’ll continue bringing some of our favorite family recipes to the blog, so we can keep celebrating together, one bake at a time. 🎄✨
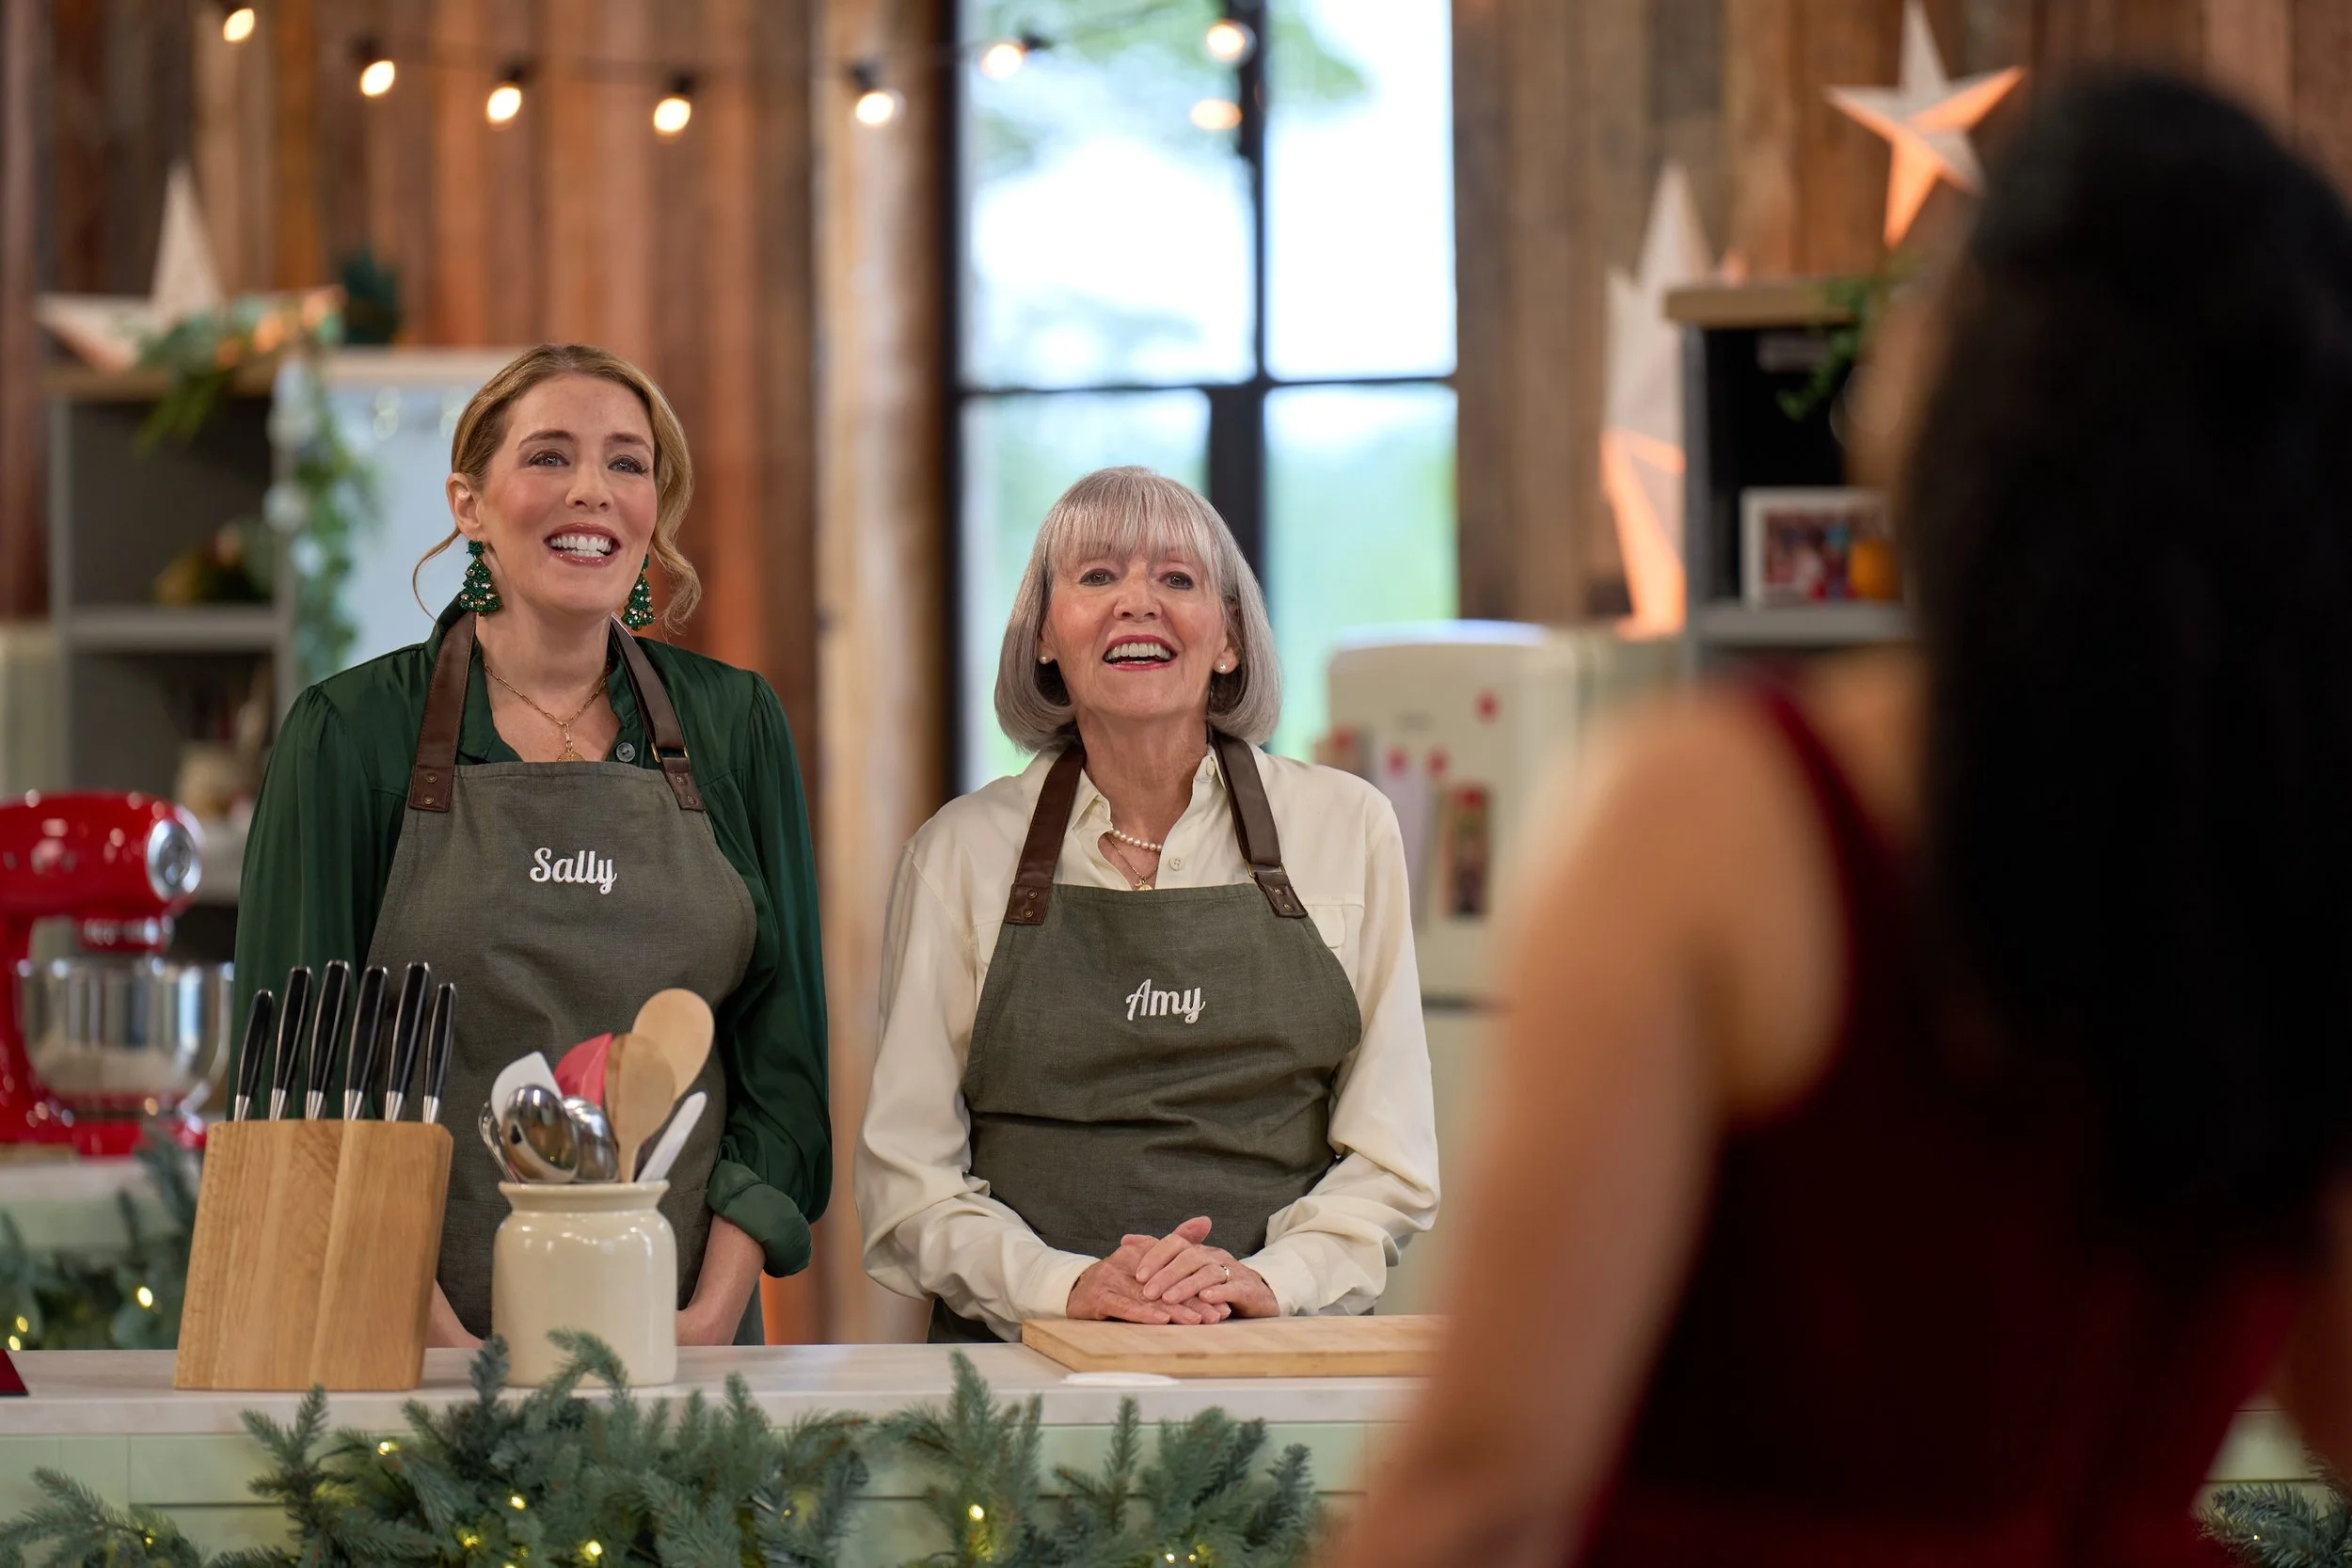
Photo Credit: ©️The Hallmark Channel 2025
We hope y’all enjoy this cake recipe as much as we do! Be sure to grab the printable recipe below, and as always happy baking!
-XOXO-
Sally

Pink Champagne Cake
This pink champagne cake is the ultimate celebration cake. With soft, tender layers and irresistible flavor, it’s perfect for birthdays, showers, anniversaries, or any moment worth celebrating.
Ingredients
- 4.5 cups cake flour (513 grams)
- 1.5T baking powder (22.5 grams)
- 3/4t kosher salt (3 grams)
- 9 grade A large egg whites (291 grams)
- 1.5 cups pink champagne (355 ml)
- 2t vanilla extract (10 ml)
- 1t lemon extract (5ml)
- 3T canola oil (45ml)
- 1.5 cups unsalted butter, softened (339 grams)
- 3 cups sugar
- 15 ml pink food coloring gel
- 2 cups unsalted butter, softened (452 grams)
- 12 cups confectioners sugar (1380 grams)
- 1.5T vanilla extract (20ml)
- 1.75T lemon extract (25ml)
- 1/2 cup 118 ml pink champagne (118ml)
- 4T heavy whipping cream (60ml)
- Red food coloring gel
- Green food coloring gel
- Pink food coloring gel
Instructions
- Preheat oven 350F/180C. Spray three 8” round cake pans with cooking spray and line with parchment paper, set aside.
- In a medium size bowl, whisk together the flour, baking powder, and salt, set aside. In another bowl, combine the egg whites, pink champagne, vanilla extract, lemon extract and canola oil until well combined, set aside. In a bowl of a stand mixer fitted with a paddle attachment, mix butter and sugar on medium speed until light and fluffy, about 3-5 minutes. While mixing on low speed, add the dry and wet ingredients alternately. Starting and ending with the dry ingredients.
- The 8” round cake pans should have 3 cups batter per pan. Pour cake batter into prepared pans and bake 25-30 minutes or until the cakes are pulling away from the sides of the pan and a skewer inserted comes out clean. Cool on wire racks for 10 minutes before turning cakes out onto a wire rack to cool completely.
- Cream softened butter until smooth and light in color. Blend in the salt, vanilla extract, and lemon extract. Gradually add the confectioners sugar with champagne until ingredients are fully incorporated. If desired, add heavy cream 30 ml at a time until desired consistency is reached. Tint buttercream to desired colors with food coloring gels.
- Spread a small amount of buttercream onto a cake board or serving plate to help secure the cake. Place the first cake layer on top. Evenly spread about 1½ cups of buttercream over the first layer. Repeat this process with the second and third layers.
- Apply a thin crumb coat over the entire cake and refrigerate for 30 minutes. While the cake chills, tint the remaining buttercream in your desired colors.
- Remove the cake from the refrigerator and frost the cake completely. Use the tinted buttercream to add decorative accents to the sides and top of the cake.